Physical Address
304 North Cardinal St.
Dorchester Center, MA 02124
Physical Address
304 North Cardinal St.
Dorchester Center, MA 02124


Explore Hobart’s highlights with a guided tour combining stunning Mount Wellington views and the intriguing MONA museum, offering a well-rounded Australian experience.
Thinking about a day in Hobart that captures both its natural beauty and its creative edge? This guided tour offers a solid taste of two of the city’s top attractions: the towering Mount Wellington and the Museum of Old and New Art (MONA). With a balanced mix of scenic vistas and unconventional art, it’s a great option for those looking for a well-organized, value-packed day.
We’re impressed by how this tour combines educational insights about Tasmania’s ecosystems, fantastic panoramas from the mountain, and the quirky charm of MONA. The fact that it includes hotel pickup, ferry tickets, and entry fees makes it quite a convenient package. One thing to keep in mind: mountain weather can be unpredictable, so packing accordingly is essential. The tour suits curious travelers who want an authentic, manageable day out without the stress of planning every detail themselves.
This tour is crafted to give you a genuine feel for Hobart’s diverse appeal—from its rugged mountain peaks to its avant-garde art scene. It’s ideal for travelers who prefer a structured, informative day that avoids the hassle of navigating on their own. Let’s walk through each part of the itinerary and what you’ll experience.
Looking for more options in Hobart? Here are some other experiences worth considering.
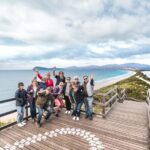
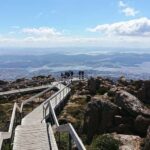
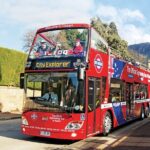
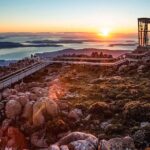
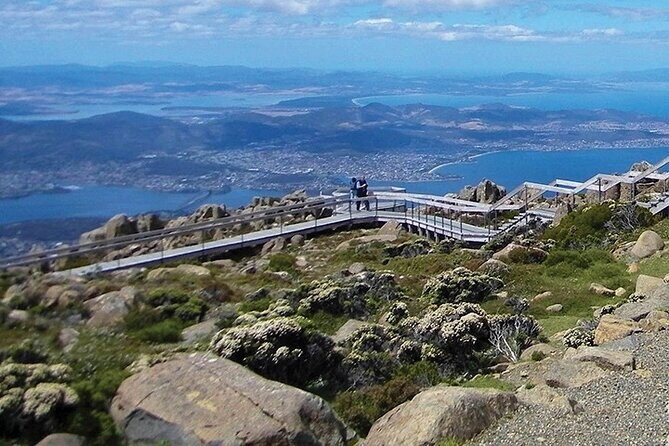
The day kicks off with a pickup from your Hobart accommodation, if booked through the tour. You’ll hop into an air-conditioned vehicle, and before long, you’re winding your way up to the top of Mount Wellington. This isn’t just about the view; it’s a window into an alpine environment, with rugged terrain, native flora, and geological formations like the Organ Pipes—a row of natural volcanic rock formations that are quite a sight.
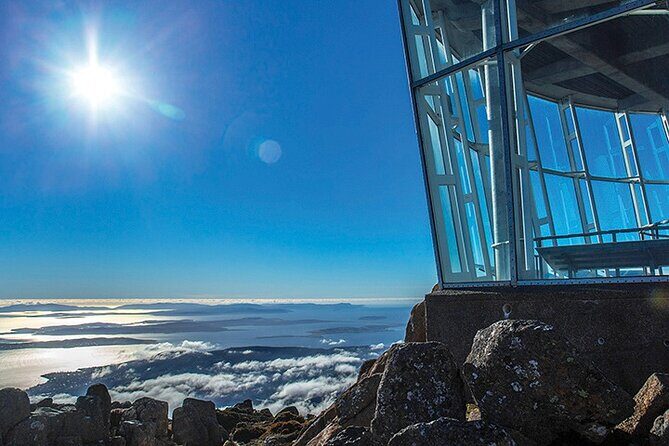
Driving up the mountain, your guide provides narration on the mountain’s ecosystems, explaining the harsh conditions that shape the landscape. The views from the summit can be spectacular, but here’s a key point from reviews: the weather is highly variable. Some days, you’ll be greeted by clear skies and sweeping vistas, while others might see clouds rolling in fast, obscuring the landscape. As one reviewer noted, “Mount Wellington is always a great,” but “I was completely amazed how cold & windy it was for late November!” So, bring warm layers, sturdy shoes, and hats.
The drive to the summit typically takes about 45 minutes, and you’ll be given around 30 minutes to take photos, walk around, or visit the observatory. Some travelers find this enough to soak in the scenery, but others feel it’s a bit rushed, especially if the weather doesn’t cooperate. Still, the stark environment and panoramic views make it a highlight.
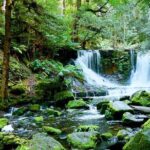
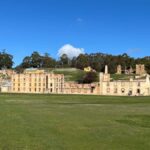
After descending the mountain, the next stop is Cascade Gardens, a tranquil, historic garden dating back to 1827. Here, you can wander among well-kept lawns, flowerbeds, and mature trees, all set against the backdrop of Hobart’s skyline. The gardens are also the site of the Cascades Female Factory ruins, a reminder of Tasmania’s convict past.
This brief visit, around 15 minutes, offers a peaceful contrast to the mountain’s wildness. Several reviews mention how picturesque and historic this spot is, providing a bit of context about Hobart’s colonial era. It’s a perfect spot for a quick stroll and some photos.
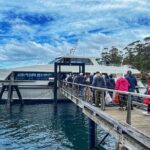
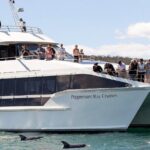
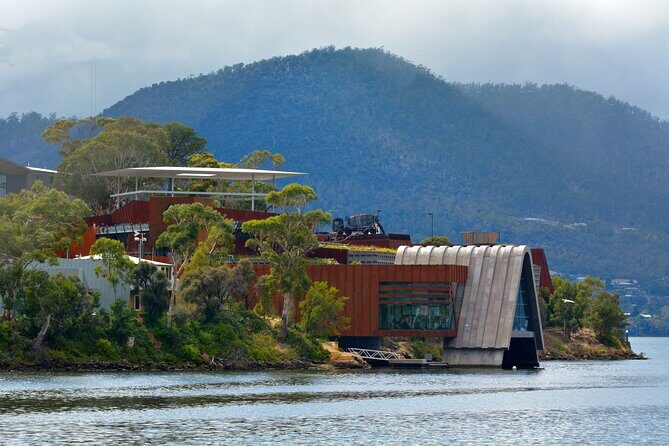
The afternoon is dedicated to MONA, arguably Hobart’s most famous cultural institution. The journey to MONA starts with a scenic ferry ride along the Derwent River, which itself is often praised as a relaxing and scenic way to arrive. The architecture of the building is striking, carved into the sandstone and blending modern design with a sense of mystery.
Once inside, you’ll find Australia’s largest private collection of art and artifacts—a collection that covers everything from Egyptian mummies to contemporary installations that challenge traditional notions of art. Several reviews highlight that MONA is bizarre and provocative. One person said, “It’s very unusual and would recommend that you visit,” while others found certain exhibits crude or pretentious.
The admission is included in the tour price, and you’ll have around 4 hours to explore at your own pace. The tour includes return ferry tickets, so you don’t need to worry about transportation. Many visitors appreciate the chance to see a broad spectrum of art in a modern, innovative setting, even if some exhibits aren’t to everyone’s taste.
For a quick wrap-up, your guide may point out the exterior of the Cascades Female Factory, offering a glimpse into the lives of women convicts in colonial Tasmania. This short stop provides some historical context but is not included in the admission fee.
At $101.85 per person, this tour covers a lot of ground with several key inclusions: hotel pickup, a guided experience at Mount Wellington, admission to MONA, and ferry tickets. This combination makes it a cost-effective way to see these highlights without the hassle of planning individual tickets or transportation.
The group size is capped at 45, which tends to strike a good balance between a friendly atmosphere and manageable logistics. Trips tend to run around 7.5 hours, making it a full day without feeling overly long or rushed.
Some reviews point out minor hiccups, such as microphone issues or bus temperature control, but overall, the tour gets high marks for guiding, timing, and the variety of experiences. The knowledgeable guides are often praised for their engagement and storytelling, adding context that helps you appreciate what you’re seeing.
A common theme in reviews is the unpredictability of Mount Wellington’s weather. Be prepared—layers, windproof jackets, and sturdy shoes—are your friends here. The views can be spectacular on clear days, but clouds and wind can obscure the scenery, which might disappoint some.
While many rave about MONA, calling it quirky, thought-provoking, and worth exploring, others find it strange or crude. If you’re someone who appreciates modern, unconventional art and is curious about Australia’s avant-garde scene, you’ll likely enjoy it. Conversely, if you’re more into traditional art, this might be a less satisfying stop.
Some reviewers mention that the time at Mount Wellington can feel rushed, especially if the weather delays or limits your experience. The ferry to MONA is noted as a highlight, with many travelers enjoying the scenic cruise. However, a few felt the schedule was tight, so if you prefer to linger longer at each site, you might consider a more flexible plan or private tour.
This combination tour is perfect for first-time visitors wanting a curated experience of Hobart’s best natural and cultural sites. It’s well-suited for adventurous travelers interested in photo opportunities, history, and contemporary art.
If you’re someone who loves scenic drives and panoramic views, the Mount Wellington stop will not disappoint. Art lovers or those curious about modern culture will find MONA intriguing, even if some exhibits challenge traditional tastes. The all-in-one nature of this tour makes it ideal for those who prefer a guided experience and value convenience over independent exploring.
This tour offers a balanced, engaging snapshot of Hobart. The combo of stunning mountain vistas and the eclectic MONA collection ensures you get a taste of Tasmania’s rugged beauty and creative spirit. The inclusions—ferry, entrance fees, transport—make it a good deal for the overall experience.
While weather unpredictability can impact your mountain visit, the guides’ knowledge and storytelling often turn even cloudy days into memorable adventures. The art at MONA can be polarizing, but it’s undeniably part of what makes Hobart unique.
If you’re looking for a well-organized day that combines nature, history, and art without the stress of planning every detail, this tour is a strong contender. It’s especially ideal for those who appreciate guided insights and a manageable pace.
Is hotel pickup included? Yes, the tour offers hotel pickup, making it convenient to start your day.
How long is the tour? The entire experience lasts approximately 7.5 hours, including travel, sightseeing, and free time at MONA.
What’s included in the price? The ticket covers transportation, hotel pickup, guide commentary, MONA admission, and ferry tickets.
Can I customize the sightseeing? The tour follows a set itinerary, but you’ll have some free time at MONA to explore at your own pace.
What should I bring? Warm layers, sturdy shoes, and rain gear are recommended, especially for Mount Wellington’s variable weather.
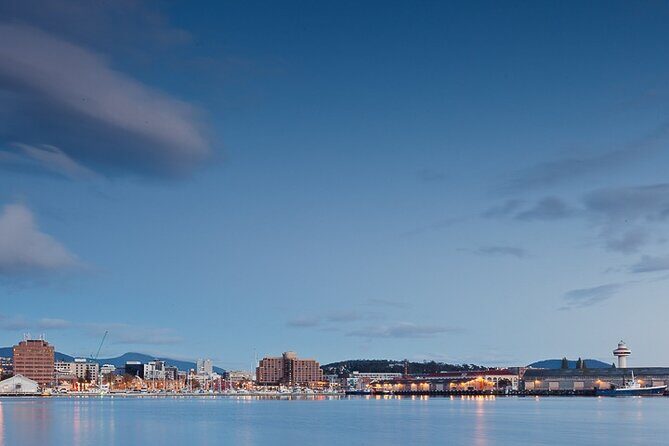
Is there a hotel drop-off? No, the tour concludes at the Brooke Street Pier after the ferry ride back to Hobart.
How big are the groups? The maximum group size is 45 travelers, fostering a friendly and manageable atmosphere.
What if the weather is bad? If the weather cancels the mountain visit, you’ll be offered a different date or full refund.
Is MONA suitable for all tastes? MONA’s collection is diverse and provocative—if you enjoy contemporary and unconventional art, you’ll find it fascinating.
Are there any age restrictions? The tour is designed for most travelers; however, children should be prepared for some walking and indoor exhibits.
In sum, this Hobart combo tour offers a practical and engaging way to spend a day. It balances nature, history, and art, providing enough variety to satisfy a broad range of interests. With knowledgeable guides, good value, and scenic highlights, it’s a solid choice for those wanting to experience the best of Tasmania’s vibrant capital.